
How to frame a bathroom mirror
May 8, 2017
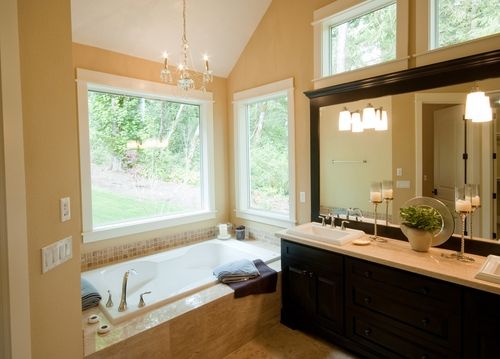
Whether you are brushing your teeth or fixing your hair, you probably find yourself frequently making use of one of these bathroom essentials: a mirror. No bathroom is complete without it, but sometimes we tend to skate by with whatever our home came with, even if it is just a plain reflective sheet stuck up on the wall.
Tired of your boring mirror? Adding a new frame is easier than you think! Just follow these simple steps to create a fresh look in no time:
1. Choose a style
Before you start your project, it is important to give some thought to the style of mirror that you want to end up with. Are you looking for a more natural look? Raw wood with a stain may be the way to go. If you want something more sophisticated, many hardware stores sell finished trim that make framing easy.
2. Measure your mirror
Once you have decided on the material that you want for your frame, pull out a measuring tape and write down the length and width of the mirror. Take the numbers with you to the hardware store to make sure you buy the appropriate amount of materials.
Do not forget to measure that area between the edge of your mirror and the adjacent wall. If you only have five centimetres between the top of the glass and the ceiling, for instance, you should not plan to create a 10 centimetre frame.

3. Purchase your supplies
In addition to the materials for the frame itself, you will need a number of other supplies on hand to do the job well. The Home Depot blog suggested purchasing Liquid Nails adhesive to attach the frame to the wall, paintable caulking to fill the cracks and a level to make sure that you hang the frame evenly.
4. Prepare the area
Now that you have all the supplies you will need for the project, prepare a work space in an area that has good ventilation. If you want to work outdoors, make sure that you will not be interrupted by rain or wind. Laying down paper wherever you choose will help protect your work surface.
5. Paint your trim
If you are starting with wood, you will need to paint your trim before it can be pieced together. Because the bathroom is such a humid area, Home Depot recommended priming both sides before you add any colour. After letting the back dry for at least a couple of hours, turn the pieces over and start on the top side.
6. Combine the frame
Depending on the size of your mirror, you may want to combine the entire frame or at least segments of it, before attaching it to the wall. After gluing the components together, HGTV recommended waiting 12 hours before moving on to installation of the frame. Use caulking to fill in any gaps.
7. Install the frame
Once your frame has completely dried, it is time to put it up on the wall. You should start with the top piece. Apply adhesive to the wall and gently press the frame to the glue. To secure the piece in place while the adhesive dries, HGTV suggested using strips of clean-release tape.
8. Touch up as needed
Finally, apply touch-up paint over any caulking you used or in places that were scraped during the installation process.
Once you have finished giving your mirror a fresh look, consider upgrading your sink fixtures to really elevate the style of your bathroom. Visit a Wolseley Canada showroom today to find the perfect choice for your room.